Tile Wizards’ Steps In Laying Mosaic Tiles
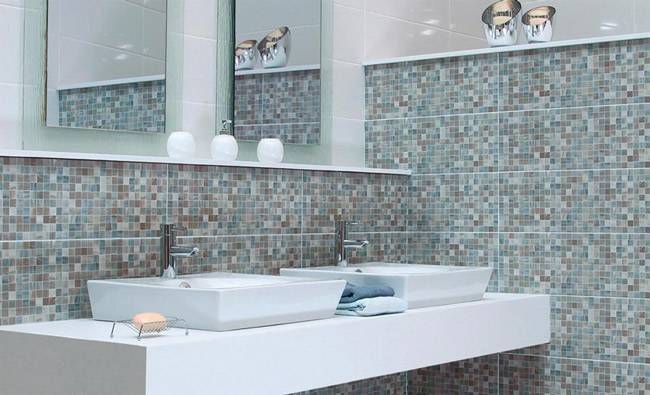
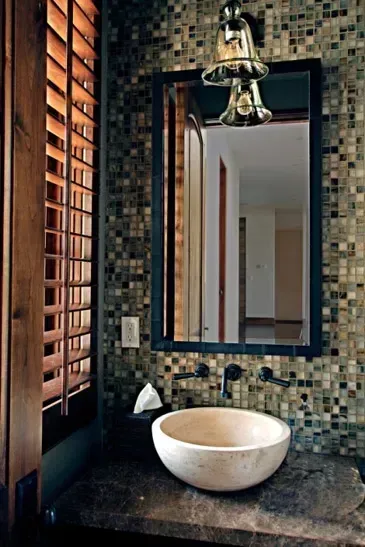
Nothing packs more style per square inch than mosaic tiles. Popular from as far back as the ancient Roman and Greek periods, tilers would have to painstakingly lay each mosaic tile (tessera) individually. Nowadays, who has time for that? And more importantly laying hundreds of little tiles within one square metre is a recipe for crooked lines and variation tile heights, making your kitchen or bathroom look terrible!
That’s why, these days, mosaic tiles come in mosaic tile sheets often fixed to fibreglass mesh sheets, which holds all the tiles in place.

However, a 300 X 300 mosaic tile sheet does not behave the way a single tile might; they can still warp, shift and create lippage so it’s important to take extra care when laying mosaic tile sheets.
Here are a some tips on how to install mosaic tiles:
STEP 1: Mark The Area
Mark the area you want to tile and hold/lay sheets of mosaic tiles to see whether any need to be cut to fit the space. Make sure that the wall or floor surface is smooth and flat as this is critical in making sure that the finished job will look great for years to come.
STEP 2: Apply Primer and Adhesive
Apply a primer to the substrate and then apply your non slump tile adhesive and choose a suitable notch trowel that is between 3mm to 6mm as you don’t want adhesive squeezing out the joint. Hold the notched trowel/spreader at an angle of 45 degrees to create ridges of an even width and depth. Don’t leave excess adhesive on the wall as it will squeeze up between the tile joints. This isn’t usually a big deal when you are laying big single tiles as you only have four edges to clean. But with hundreds of tiny mosaic tiles cleaning out the grout Joints can be a nightmare especially if you have chosen a different coloured grout to the adhesive that you are using i.e. dark colour.

STEP 3: Mark Reference Point and Lay First Row
Mark a level line on your wall and use this as your starting reference point, as the most important part of the job is to make sure that the first row of mosaics are plumb and level. Start laying a few sheets left to right at the top of your project and work your way down as you want to make sure that the finished job looks great at eye level. Press the mosaic into place with your hand, if the mosaic sheets are not in line use a clean trowel and place at the top or bottom of the sheet and move the sheet into alignment, don’t try to align individual pieces. Then use a float or a flat piece of wood off cut and tap down the mosaic sheet so the tiles are flat and level – especially those at the edges of the sheet. This flattens it out, giving it a nice smooth surface. It also ensures that the mosaic tile sheet is firmly embedded in the adhesive.
After you have embed the mosaic tile sheet in the thin set adhesive, you need to make sure that the tiles within the sheets are properly lined up, Adhesive will normally have a working time of 10 to 20 mins giving you a little bit of time to allow for any adjustments.
STEP 4: Lay All Full Sheets
Lay all the full sheets until the area or row is covered. Then measure the gaps left and use a sharp knife to cut the sheet to fit around any obstacles. You may need to use a tile nipper to cut individual mosaic tiles to fit.
Note: when placing in the mosaic cuts make sure that the tile adhesive has not skinned over, the adhesive should stick to your finger, if not reapply more adhesive
STEP 5: Apply Grout
When all the tiles are in place, make sure all the grout joints are clean. Leave the adhesive to dry for 24 hours. Then grout the joints between the tiles. Load a rubber-edged grout float with grout, and push it across the tiles at a 45 degree angle and make sure that the grout joint is flush with the edge of the tile, make sure no air bubbles are present in the grout joint. Clean excess grout from the tile surfaces as you work.
Note: Do not allow the grout to dry completely before trying to clean with a sponge; dried grout is difficult to remove.
The grout joint should be firm (like wet Clay) when a wet finger is run along the surface. Soak your sponge in a bucket of water and squeeze out the excess water from the sponge and using the sponge in circular motions smooth out the joints so they are all even – clean sponge regularly in water and once the joints are smooth and even use a clean sponge and wipe the tile clean at a 45 degree angle.

Once the sponge gets dirty turn the sponge over and use the other side, then wash out the sponge and start over again. Once the grout has dried use a clean dry rag to buff the surface of the tiled area to remove any grout dust from the surface of the tile.
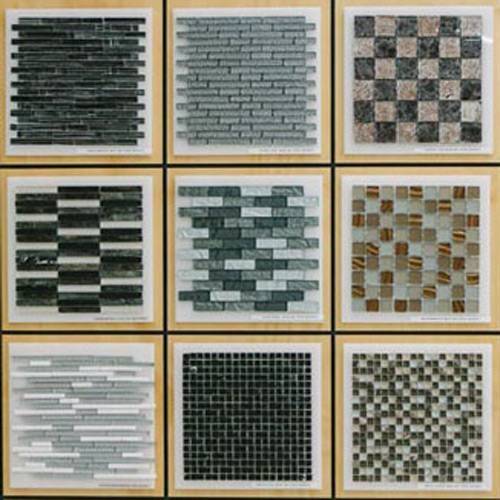
All in all, installing mosaic tiles is not a very difficult job, now that backing mesh is used. In fact, the hardest part of this or any other tiling project may be choosing the look—the tiles come in a variety of shapes and materials, and many sheets have glass or metallic tiles built in for accents.
Tools required:
- Primer
- Non – slump Adhesive
- Grout
- Notch Trowel
- Grout float
- Float or a flat piece of timber.
For more expert tiling tips and to see our wide range of tile products up close, why not pop into one of our Tile Wizards branch near you. We have stores located across Australia, in and around, Brisbane (Springwood), Adelaide (Para Hills West, Lonsdale, Richmond), Sunshine Coast (Bokarina) and Coffs Harbour.
YOU MIGHT ALSO LIKE TO READ:
How to Install Tiles in a Diamond Pattern
Want to try out something different for your tile flooring? Try laying your tiles in a diamond pattern. Not only will it be an interesting feature in your spaces, it also makes your rooms look bigger. Here’s a step-by-step guide on how to do a diamond pattern tile laying…READ MORE


